Stone Panels
Outline:
– What modern stone panels are made of and why they last
– How easy-install systems work, tools needed, and typical steps
– Performance under weather, fire, and impact with practical detailing
– Design options and applications indoors and out
– Costs, maintenance, and sustainability over the life of a project
Stone panels solve a familiar construction puzzle: how to get authentic stone character without the downtime, weight, and specialized masonry labor that slow projects. By pairing a genuine or engineered stone face with a lighter structural core and smart fastening, these systems increase speed on site while preserving durability where it counts. Whether you are upgrading a facade, finishing a fireplace surround, or adding texture to a bath, understanding how panels are built and installed helps you choose confidently and plan efficiently.
What Are Durable Stone Panels and How Are They Made?
Durable stone panels combine a thin layer of real or engineered stone with a supportive core and a backing designed to anchor to walls or frames. The stone facing can be granite, limestone, slate, marble, or engineered mineral composites, typically in the 3–8 mm range. Behind that, manufacturers use cores such as mineral boards, aluminum honeycomb, or fiber-reinforced cementitious sheets. This “sandwich” construction improves flexural strength relative to the thin stone alone, so panels can be larger without cracking, yet the overall weight stays manageable for quicker handling and reduced structural demand.
Weight is a practical starting point. Full-depth stone cladding can reach 35–50 lb/ft² (about 170–244 kg/m²). Comparable panelized systems often land around 4–9 lb/ft² (about 20–44 kg/m²), depending on stone type and core. The difference cascades into real project advantages: lighter foundations or supports, smaller crews, and the possibility of installing higher on a facade using lifts instead of extensive scaffolding. Larger individual panel sizes also mean fewer joints, which can simplify weatherproofing and speed layout.
Durability stems from both materials and detailing. Stone veneers resist abrasion and UV exposure well, and cores are chosen for dimensional stability, moisture resistance, and fire performance appropriate to the application. Most products are tested for freeze–thaw cycling, impact resistance, and bond strength. You’ll see claims about cycle counts, flexural values, and water absorption; the headline takeaway is that well-built panels are engineered for exterior duty while staying suitable for interior wet areas when specified correctly.
Key construction features to look for include:
– A stable, non-reactive core that doesn’t swell or delaminate when damp
– Factory-controlled bonding with weather-resistant adhesives or mechanical interlocks
– Edge treatments that protect the veneer and conceal fasteners
– Optional factory sealing for porous stones to reduce staining
In practice, the panel format shifts the role of “stone” from load-bearing cladding to a robust finish layer coupled to a support system that does the heavy lifting. That separation allows you to keep the authentic look and tactile quality of stone while tapping into a more predictable, installer-friendly workflow.
Easy Installation: Systems, Tools, and Step‑by‑Step Workflow
Ease of installation is where stone panels distinguish themselves. Instead of hand-setting individual blocks, installers place interlocking panels or fasten pre-sized modules to rails, clips, or a prepared substrate. Systems fall into a few common categories: clip-and-rail assemblies that create a ventilated cavity; tongue-and-groove edges that stack like large-format tiles; and direct-bond panels designed for flat, plumb interior surfaces. Each approach aims to keep courses straight, joints consistent, and penetrations minimized.
Before installation, assess substrate type (framed wall, masonry, sheathing), check plumb and flatness, and plan for moisture management. A typical toolkit includes a level, chalk line, shims, drill/driver, masonry or diamond blade saw, non-staining sealant, corrosion-resistant fasteners, and safety gear. For exteriors: integrate a weather-resistive barrier, flashing at openings, and a ventilated gap if the design calls for a rainscreen. Interiors often allow direct attachment over cement backer or other stable panels, provided deflection limits and load paths are respected.
A simplified exterior workflow looks like this:
– Layout: Establish control lines, story heights, and joint patterns; dry-fit corner and starter pieces.
– Prep: Install furring or rails if required; integrate flashing at sills and heads; confirm drainage paths.
– Start course: Set the starter track dead level; the first row controls every row above.
– Field panels: Hang or interlock panels, checking alignment every few courses; stagger joints per the pattern.
– Penetrations: Cut with a diamond blade, easing corners to reduce stress; seal around fixtures with compatible sealants.
– Tops and edges: Cap parapets and transitions; verify weep paths remain open.
– Finish: Tool joints where specified, clean residues, and protect until final handover.
Time savings are tangible. A small crew can often place 100–250 ft² (9–23 m²) of cladding per day, depending on height, weather, and cut complexity. Interior feature walls move even faster. Because panels are lighter and larger, handling is smoother, but don’t skip safety: use suction cups for larger formats, support long edges during transport, and avoid point loads. Thoughtful planning at corners, window returns, and terminations pays off—factory corner modules or mitered returns create a monolithic look with strong mechanical support where impacts are likeliest.
Two practical tips that consistently help:
– Keep a “mock-up bay” to verify joint width, sealant color, and cleaning methods before full production.
– Pre-label cut pieces and store them by elevation; it reduces ladder time and mistakes when the site gets busy.
Performance in the Real World: Weather, Fire, Impact, and Comfort
Stone panels earn their keep by staying stable across seasons. A ventilated cavity behind exterior panels helps equalize pressure and shed moisture, reducing the risk of trapped water and efflorescence. Joints are engineered to move—thermal expansion of both the stone face and the substructure is accommodated with clips, slotted holes, or flexible sealants. In cold climates, freeze–thaw durability matters: low water absorption and properly detailed drips and flashings prevent ice from prying at edges.
Wind and impact resistance depend on panel size, clip spacing, and substrate strength. Properly engineered systems regularly meet high-service wind pressures used in coastal and high-rise conditions when anchors and rails are specified to structural calculations. For ground-level durability, the stone face resists abrasion, while the composite assembly’s flexural capacity helps distribute point loads. Where heavy carts or sports activities are expected, raise the durable zone with thicker panels, protective base trims, or strategically placed bollards.
Fire behavior is governed by the materials in the “stack.” Natural stone is noncombustible, and many mineral-based cores and backers offer limited or noncombustible performance. Avoid combustible layers where codes restrict them, and verify wall assemblies as a whole, not just individual parts. For interior installations near heat sources, maintain appliance clearances and use heat-resistant sealants; for exteriors, metal flashings and mineral wool in the cavity can complement the noncombustible intent.
Comfort is an underrated advantage. The mass of stone dampens sound, and a ventilated, insulated cavity can add acoustic separation for busy streets. Thermal performance improves when continuous insulation sits behind rails, reducing thermal bridges compared to direct-fastened heavy masonry. On sunny facades, the cavity helps dissipate heat, moderating temperature swings at the sheathing. Indoors, sealed stone faces resist stains and moisture, making them suitable for baths and kitchens when paired with appropriate substrates and joint treatments.
Detailing that enhances performance:
– Back-ventilate exteriors and keep weep openings clear
– Use compatible, vapor-permeable membranes to manage moisture
– Include movement joints at intervals and around openings
– Select sealants and cleaners matched to the stone chemistry (acid-sensitive stones need neutral products)
Design Possibilities and Applications: From Facades to Fireplaces
Panels expand design freedom by scaling up stone without the constraints of block-by-block assembly. Large formats create sweeping surfaces with fewer joints, while modular sizes can echo traditional coursing for a classic look. Surfaces range from split-face textures that catch shadow beautifully to honed or brushed finishes that feel like river-worn rock. Because the veneer is thin, color consistency can be curated across batches, yet each panel still carries the natural variations that make stone compelling up close.
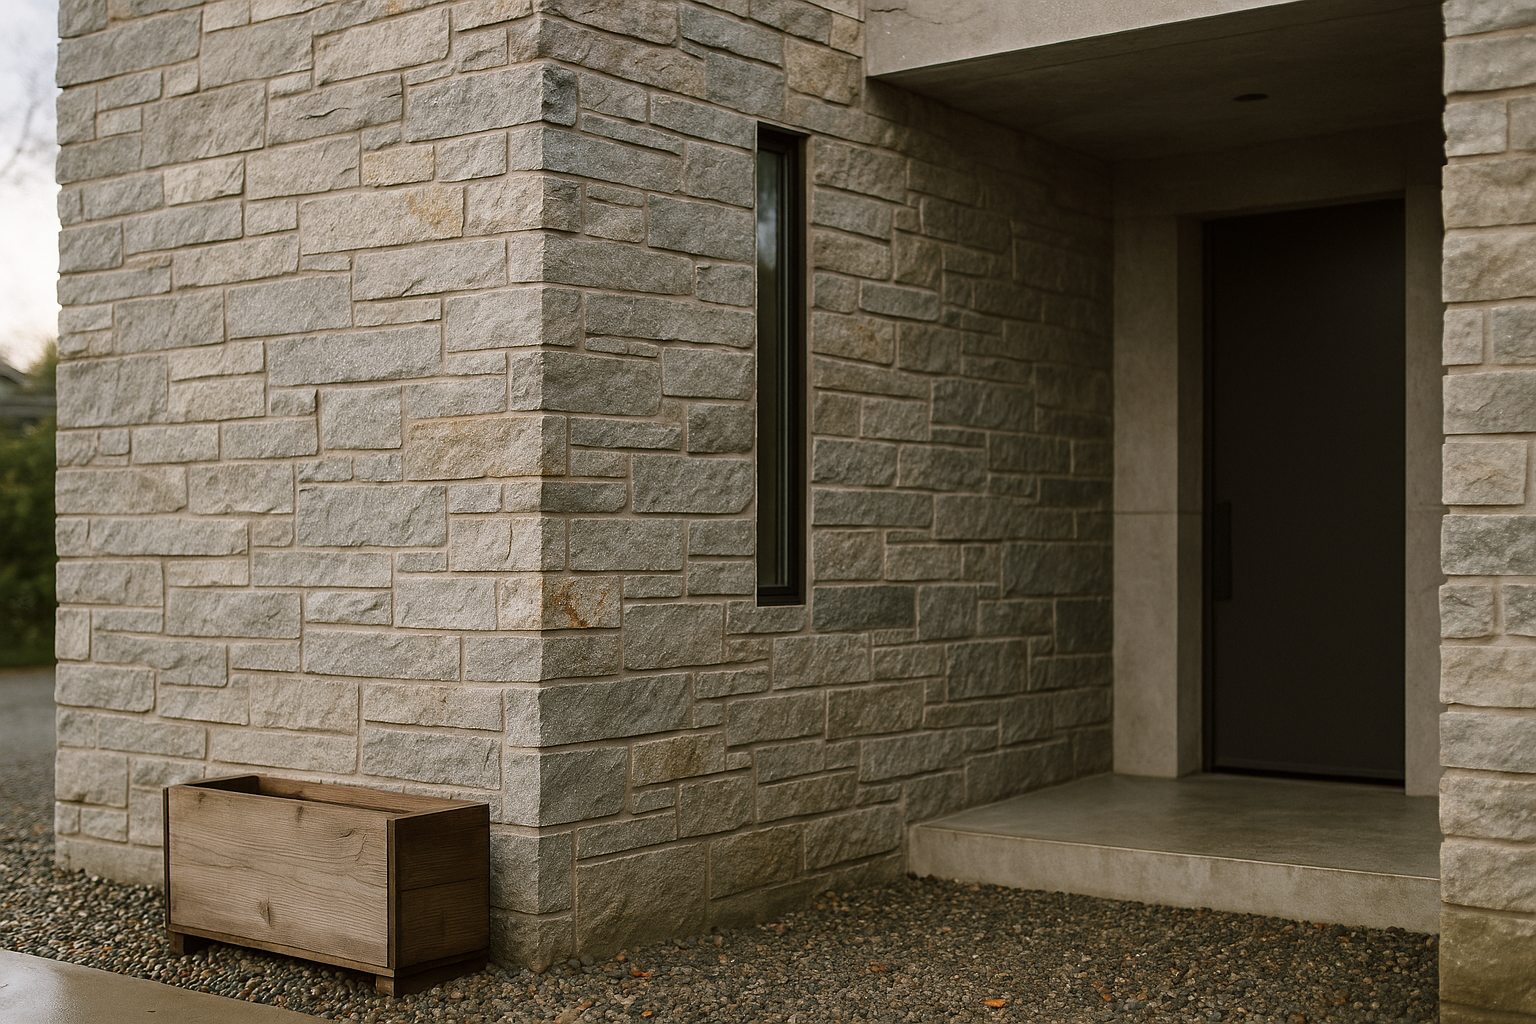
Exterior uses include full building facades, garden walls, entry surrounds, and accent bands. A ventilated panel facade pairs well with modern window systems and rain-managed roof edges. At corners, you can choose between factory-wrapped corner units for a monolithic effect, or quirked joints that reveal a clean shadow line. Horizontal terminations—parapets, sills, and copings—deserve special attention; cap them with drip edges and ensure the top surface sheds water cleanly to preserve both looks and longevity.
Interior applications range from living room feature walls to bathroom enclosures and kitchen backsplashes. In wet areas, panels reduce grout lines, which simplifies cleaning and creates a serene, seamless feel. For fireplaces, confirm clearances and use mineral-based backers; the stone face tolerates radiant heat well when the assembly behind it remains within temperature limits. Lighting—natural or fixture-based—plays wonderfully across textured stone; even an overcast day can pull depth from a raked finish or a subtle linear grain.
Mixing materials amplifies the effect:
– Pair warm woods with cool gray slates for contrast
– Set brushed metal or matte black trims against buff limestones
– Float shelves or niches within panel fields to add function without visual clutter
– Combine panels with planted trellises outdoors for a soft–hard dialogue
On renovations, the lighter weight of panels often avoids structural upgrades needed for full-depth masonry, making ambitious designs feasible within existing envelopes. For new builds, panels cooperate with tight schedules; exterior enclosures can progress while interior trades mobilize behind a weathered-in facade. The result is a tailored palette of textures and tones, delivered in a system that respects both craft and calendar.
Costs, Maintenance, and Sustainability: Looking Beyond Day One
Total cost of ownership matters as much as the initial invoice. Upfront, panelized stone often sits below full-depth masonry once you factor labor, staging, and structural needs. Typical installed costs vary widely by region, stone type, and elevation complexity, but many projects see panels in ranges that compete with high-quality siding and ventilated cladding, while traditional stonework trends higher due to skilled labor hours and heavier support requirements. Because panels move faster, indirect savings—shorter rentals, fewer site days, less scaffolding—add up.
Maintenance is straightforward when details are right. Exterior panels benefit from seasonal rinsing to remove dust and de-icing residues; stubborn spots usually lift with a pH-neutral cleaner and soft brush. For calcium-based stones, avoid acidic cleaners. Depending on porosity and exposure, a breathable sealer may be reapplied every few years to resist staining, particularly near plant beds or urban streets. Joints and flashings should be inspected annually; touch up sealant, clear weeps, and check that gutters and drip edges are steering water away from faces and tops.
Longevity aligns with sustainability. Thinner veneers reduce quarrying volume per square foot, and lighter shipments lower fuel use. Some cores incorporate recycled content, and metal rails are commonly recyclable at end of life. The ventilated cavity approach can improve energy performance by making continuous insulation easier to implement, which yields operational savings over time. Waste is also easier to manage; large-format panels mean fewer offcuts, and careful takeoff planning lowers overage.
To plan a realistic budget and maintenance roadmap:
– Request a full mock-up with intended membranes, trims, and sealants
– Confirm allowable panel spans, wind loads, and anchor spacing with a qualified professional
– Specify cleaning and sealing protocols based on the exact stone type
– Document a simple annual inspection checklist for the building manual
When you tally the numbers and the lived experience—cleaner lines, faster schedules, less structural complexity—the case for stone panels becomes practical as well as aesthetic. You get authentic texture and durability delivered in a format that respects time, labor, and resources, setting the stage for spaces that age gracefully without demanding constant attention.
Conclusion
If you’re a homeowner planning a facelift, a builder juggling schedules, or a facilities manager focused on lifecycle value, stone panels offer a clear path to durable character with streamlined installation. By understanding the materials, choosing a mounting system that suits your climate and wall type, and detailing for drainage and movement, you lock in performance as surely as you lock in style. Start with a small mock-up, verify the touchpoints, and you’ll move from concept to completion with confidence—stone solidity, delivered the efficient way.